

Polymer clay offers endless possibilities for artistic expression, and one of the captivating effects you can achieve is a marble pattern. By blending different colors together, you can create a beautiful swirling design reminiscent of natural marble. In this guide, we’ll walk you through the steps to create a mesmerizing marble effect using polymer clay.
Step-by-Step Guide:
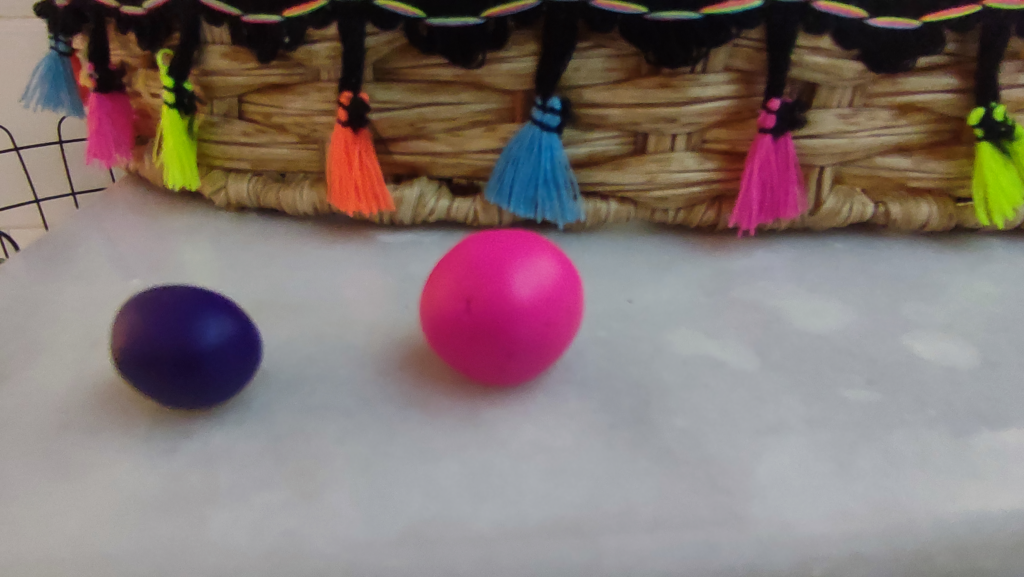
1. Choose your colors:
Select two or more colors of polymer clay that you want to blend together for your marble effect. Consider color combinations that complement each other or create an intriguing contrast.
2. Condition the clay:
Knead each color of clay in your hands until it becomes soft, pliable, and easy to work with. Conditioning eliminates air bubbles and makes the clay more malleable.
3. Create a base color log:
Take a portion of the base color clay and roll it into a log of similar size to the other color logs you’ll be creating.

4. Create clay logs:
Take portions of each color and roll them into logs of similar size. Vary the thickness and length of the logs to add visual interest to the marble pattern.
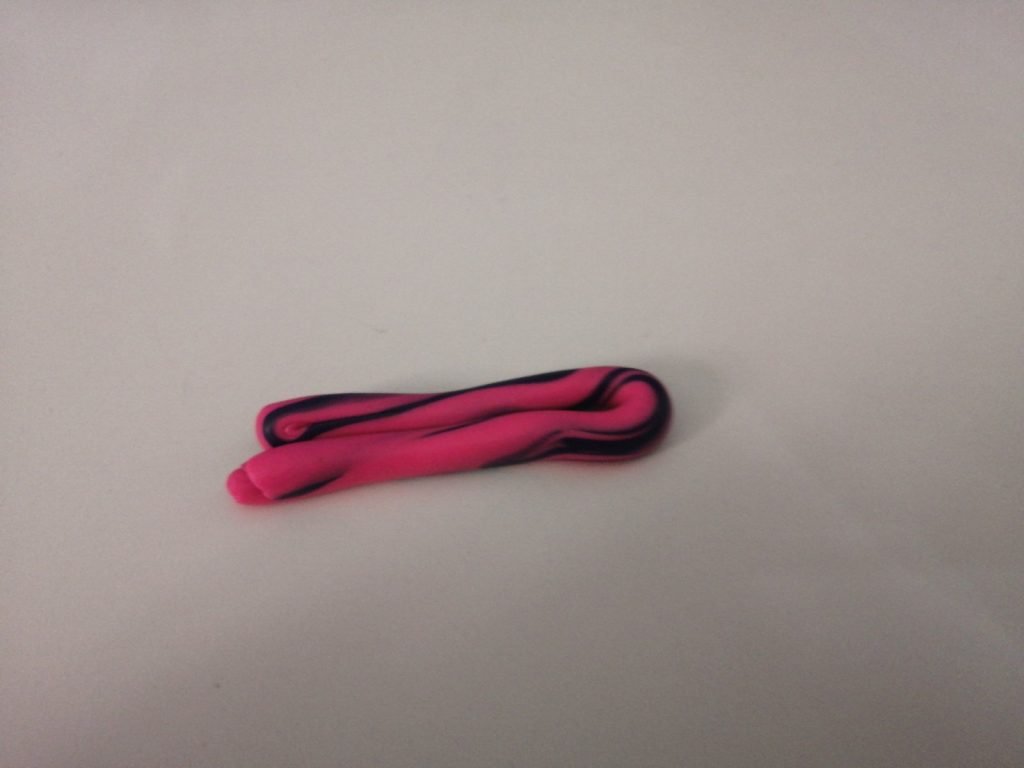
5. Arrange the logs:
Place the base color log and the other color logs next to each other randomly. Overlap them, crisscross them, or arrange them as desired to create a varied mixture of colors that will blend during the manipulation process.

6. Blend the logs:
Gently press the logs together using your fingers or a clay roller, being careful not to apply too much pressure. This will start to blend the colors while retaining their unique patterns and variations.
7. Fold and twist:
Fold the log arrangement in half and give it a slight twist. This further mixes the colors, creating an organic marble pattern with depth and movement.
8. Repeat the process:
If desired, repeat steps 4 to 7 to intensify the marble effect. Experiment with different folding and twisting techniques to achieve the desired level of marbling.
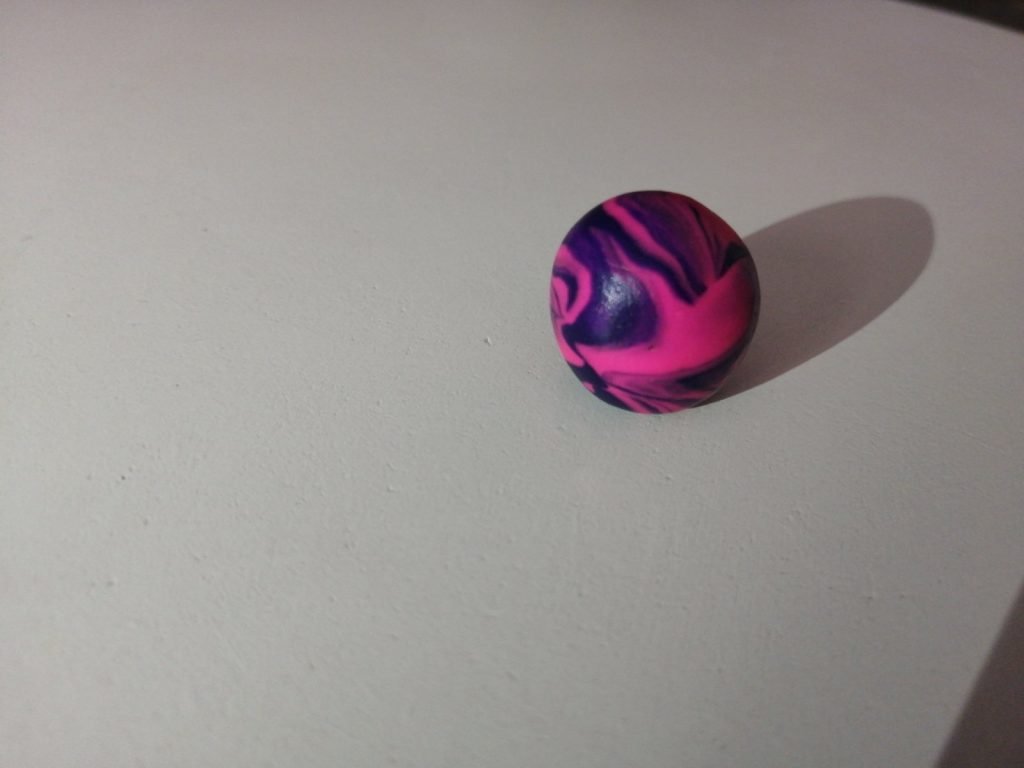
9. Use the marbled clay:
Now that you’ve achieved a stunning marble effect, the marbled clay is ready to be used in your polymer clay projects. Shape it into beads, pendants, decorative elements, or whatever your imagination desires.
10. Bake the clay:
Follow the manufacturer’s instructions for baking the polymer clay. Place your creations on a baking sheet and bake them in an oven at the recommended temperature and duration. Proper baking ensures the clay hardens and retains its beautiful marble pattern.
Creating a marble effect with polymer clay opens up a world of artistic possibilities. By blending different colors and following these step-by-step instructions, you can achieve captivating marbled patterns that will enhance your polymer clay creations. Let your creativity run wild and enjoy the unique beauty of your marbled masterpieces!


Leave a Comment